

I haven't done anything to my nails for a few weeks since my hands keep getting hurt. My ring finger on my left hand had the nail split and broke right in the middle of the nail while playing football on Easter with my brother, cousin, cousin's lady & boyfriend. Good news though is that I caught the ball from like 20 feet away! It just grew back enough so I can paint it again. I also have some scratches & burns on my right hand right now, blah. I've missed having pretty nails :)
Here's what you'll need: A top coat (I use Sally Hansen Dries Instantly,
dries in about 30 second), a base
color, and nail stickers. Remove your old
polish, if any, and soak your hands in warm water for a few minutes.
Trim your nails and push back your cuticles but don't cut them. Do not
use lotions or oils on your hands before you start, it may make the dry
time longer.
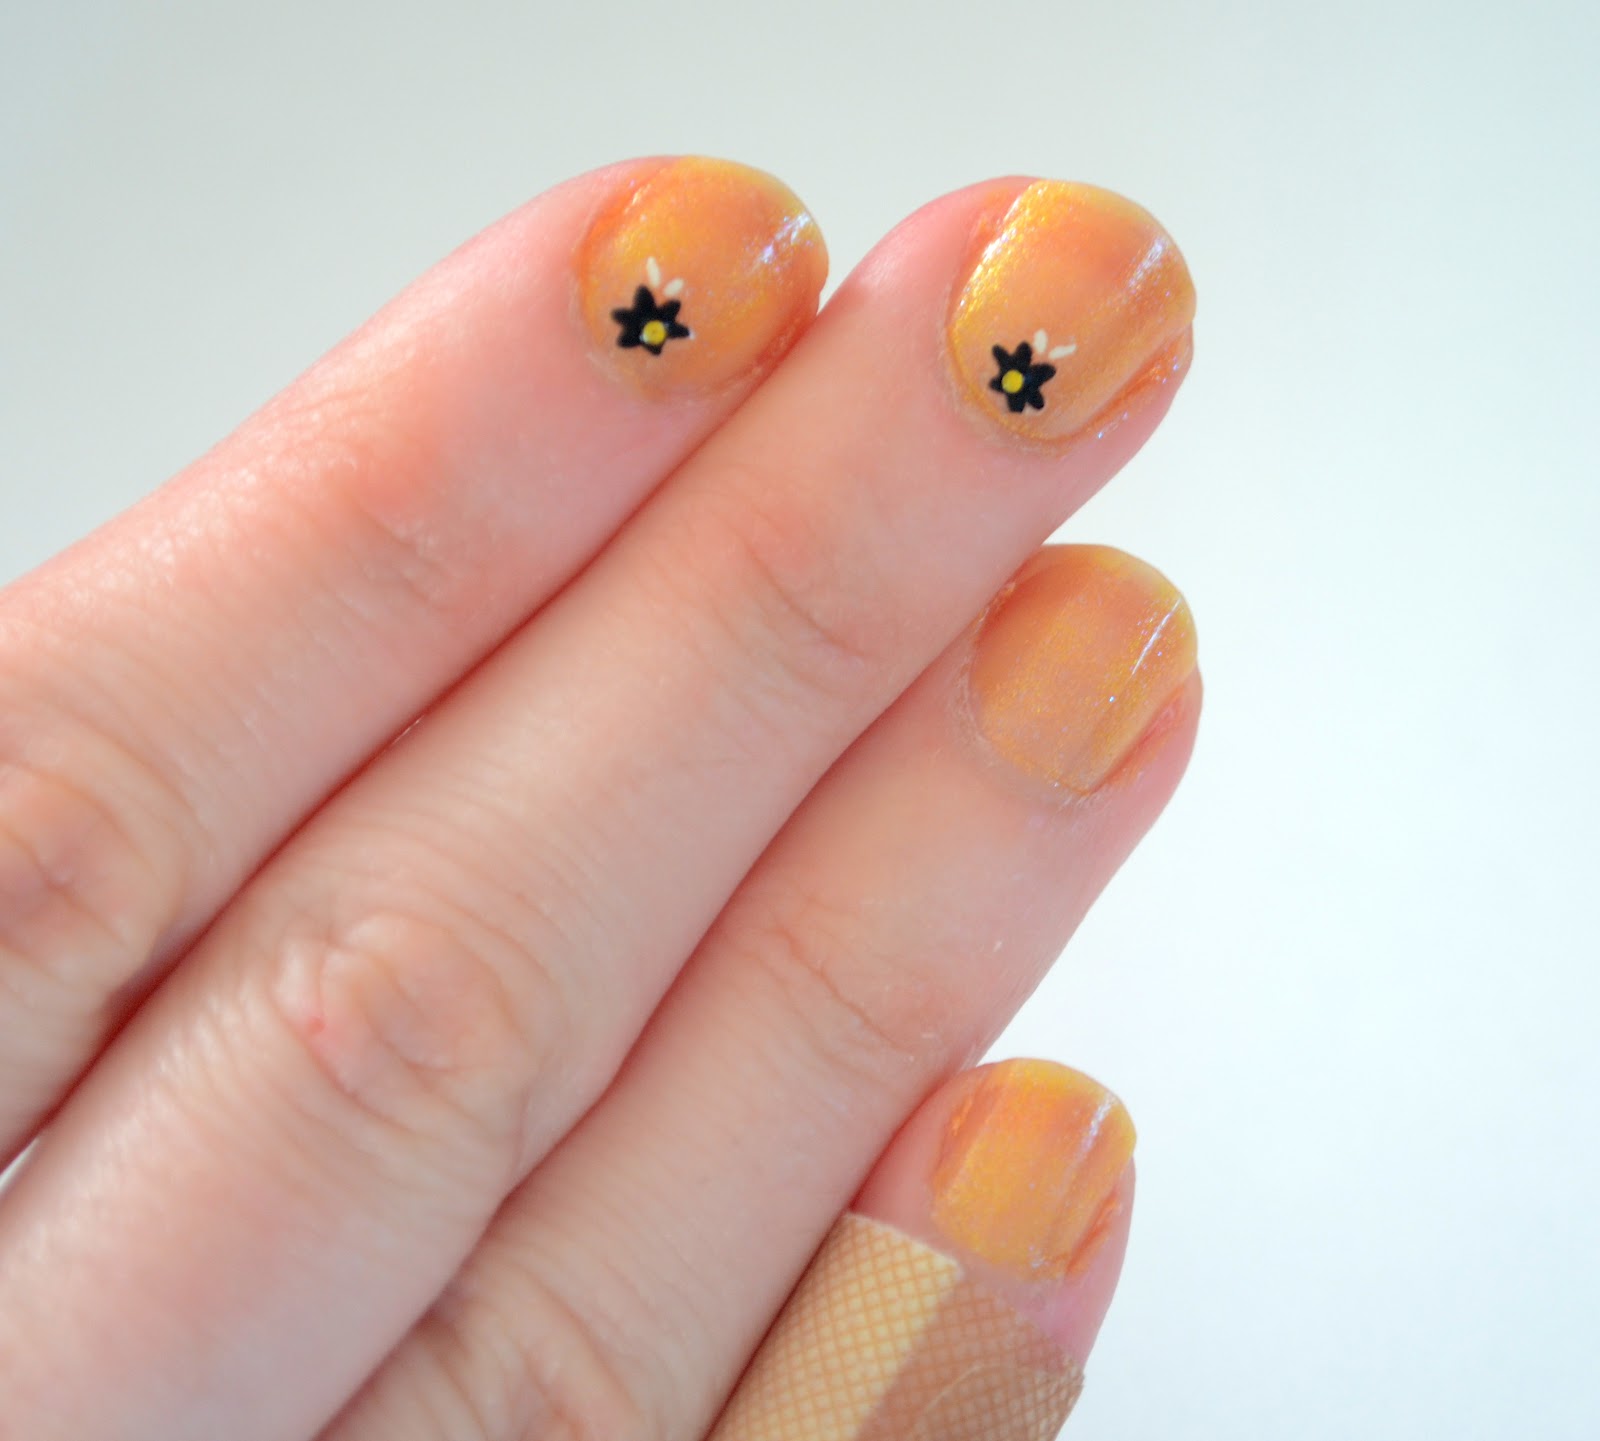
First, paint your nails with your base color. I went with gold since my stickers have a small gold charm on each flower. You can apply a couple coats if you want, I applied one coat because I wanted a softer look this time. Wait until your nails are completely dry before placing any stickers. You will be holding them down some and could mess up the paint job if they are not dry.

Grab the sticker you want on the nail. Try to grab it only by the tip on the sticker as seen in the picture below this one.

Think about where you want it on the nail before you place it on the nail, these stickers are sometimes very sticky and may mess up your paint job if you have to move it.

Place the sticker down with your finger. You want the sticker to be laying as flat as possible so it can be sealed in with the top coat and not get caught on anything or torn off if snagged.

Finish applying the sticker where you want them.

Then apply a coat or two of your top coat. If your stickers are thin one coat should be fine but if they are thicker you may want to apply more coats so the sticker don't get snagged on anything.

Done and done!

Click here to see how to make this bracelet!
Thanks for stopping by, hope you find this post helpful!


No comments:
Post a Comment